
Lesson 1
For the DexBasic for the raspberry pi
OK, so you have run the hello demo on the raspberry pi and you
have read the intro and looked at some basic commands. Now i will try
and explain how you need to write the code and what each part does.
So go to the Tut1 folder and click on the "FASMWARM.EXE" in side that
folder, than as before click on file, then open and load the app.asm
file into the IDE
Now you may of noticed that i have included more than one copy of
fasmwarm, thats to keep things simple and also to show that theres no
installing with fasm, its just a single exe.
Anyway once loaded, you should see this:
 w if
w if
Let take a closer look at each bit and expain what it does.
The first bit is the Comments, which is text that is not used by the DexBasic, its only there to help
humans like us understand whats going on. You can tell if something is a
comment because there is a ; at the beginning . Anything after the ; is ignored by the DexBasic (fasm) on that row.
In this example the person who wrote the comment decided to make it look
pretty and add *'s down the side but this isn't necessary.
Comments are very useful and I strongly encourage every DexBasic app you
make have a comment in the beginning with information like who wrote it,
when you wrote it and what its supposed to do.

After the above comments you will see this:

This needs to be the first thing after any commens and is need in
every DexBasic app you write, it set stuff up and is where our macros
are stored.
Then we have this:

This loads the bmp file "MyBmpImage" into the of screen buffer, the
bmp file is already stored in our app when this is run at the address
pointed to by the label "MyBmpImage" but for us to use that bmp we need
to remove its header and store it in memory the right way, as bmp are
stored up side down.
Next we have:

Which set the color of fonts on the next print
Then we have:

Which sets where to print the next string on the screen (off screen buffer raelly, but we will be dumping that to screen latter.
Next we have this:

Well it prints whats in between the " ".
After that its just a repeat of above with different values, the next new command is this:

This runs the code that at the address MyFunction, then return to the next command after the "gosub", which in this case is:

This is like the "gosub" but it does not return
The next new command is this:

This writes our off screen buffer to screen.
Next we have this:

This is where our program ends (just loops for now).
There is also this, that is where our bmp is stored, before we load it to buffer.

Note: its says "Pi.bmp" instead of "Images\Bg.bmp", but you get the idea.
We also have this:

Which is put at end of our program, so we know the size of it.
Next is this:

This is the address of our off screen buffer.
Now all we need to do is click on run then compile and we should see this:
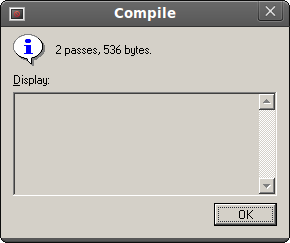
It will say a differant size, but thats ok.
Next we goto "file" and then "open" then we click on "kernel.asm" and "open" than as before, we click "Run" then "compile".
Once we see the above box, we are ready to test it on the PI.
So take the kernel.img file you have just made ( it will be in the Tut1
folder) and put it on the SD card (replacing the one thats you put on
earlier).
Put it in your raspberry pi and power it up.
You should see this:
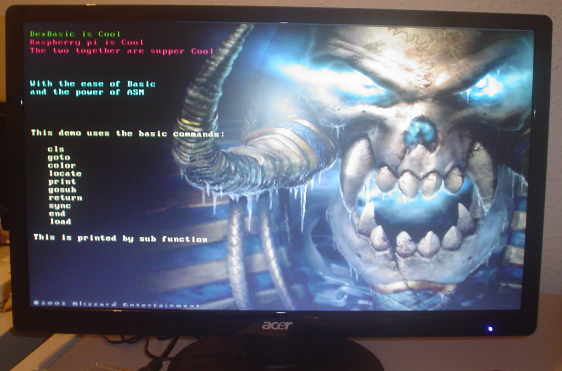
And that's all folks for Tut 1